How to Fix a Dent and Repaint a Car Panel: A Complete Guide
How to Fix a Dent and Repaint a Car Panel: A Complete Guide
Fixing a dent and repainting a car panel can seem daunting, but with the right tools and techniques, it’s a task that professionals and enthusiastic DIYers can tackle. This guide will walk you through the process step-by-step and product recommendations to ensure you achieve the best results.
Step 1: Assessing the Damage
Begin by thoroughly cleaning the affected area and assessing the size and depth of the dent. This will help you decide whether you can handle the repair yourself or if it needs professional attention. Small to medium-sized dents with no serious damage to the paint can typically be fixed at home.
Product Recommendation:
- Cleaning Agent: Opt for a high-quality automotive soap to remove all surface contaminants without damaging the paint.
Step 2: Preparing the Dent for Repair
For shallow dents, using a suction cup dent puller can be effective. For deeper or sharper dents, however, a more comprehensive approach involving a body filler is necessary.
Product Recommendations:
- Suction Cup Dent Puller: Great for minor dents, especially on flat surfaces.
- Body Filler Kit: Choose a reputable brand like Bondo for filling larger dents. Ensure the kit includes a hardener.

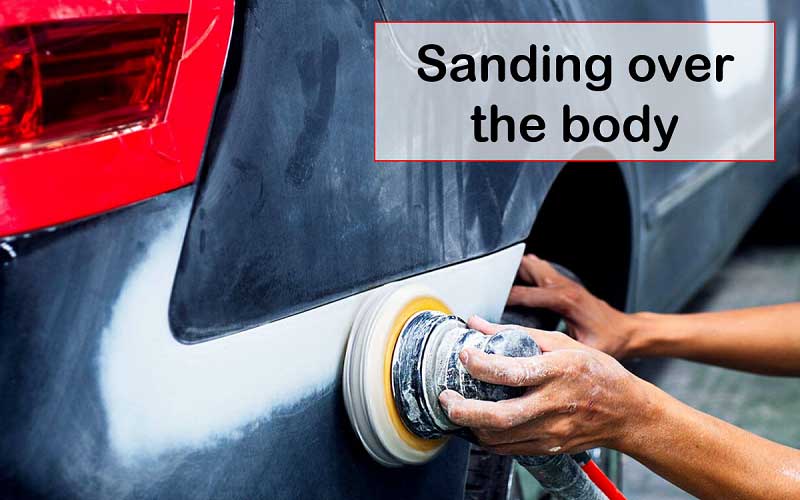
Step 3: Applying and Sanding Body Filler
Mix the body filler according to the manufacturer’s instructions and apply it over the cleaned and lightly sanded damaged area. Use a broad knife for a smooth application. Allow it to dry completely, then sand the area with coarse sandpaper, progressing to finer grits to achieve a smooth surface.
Product Recommendations:
- Sandpaper: Start with 120 grit and move up to 320 grit for a smooth finish.
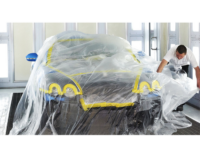
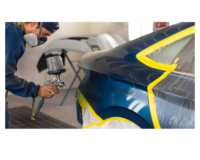
Step 4: Priming
Once the surface is smooth, clean it again to remove all dust. Apply a layer of primer to help the paint adhere better and to ensure a consistent color finish. Allow the primer to dry as per the instructions.
Product Recommendation:
- Automotive Primer: A spray can primer from Rust-Oleum or similar will be easy to apply and effective.
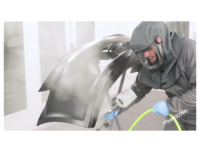
Step 5: repainting a car panel with the proper paint color
Match the paint color with your car’s original color. Apply the paint in thin, even layers, allowing each layer to dry before applying the next. Usually, 2-3 coats will suffice.
Product Recommendation:
- Automotive Paint: Use a spray can for smaller areas or a professional spray gun for larger or multiple panels.
_413660962.jpg?itok=9vdPpdkh)
Step 6: Clear Coating
Once the paint is dry, apply a clear coat layer to protect the paint and add gloss. This also helps the new paint blend in with the old paint.
Product Recommendation:
- Clear Coat: A high-quality urethane-based clear coat will provide durability and a glossy finish.

Step 7: Polishing
After the clear coat has cured, polish the area to achieve a high gloss finish that matches the rest of your car. Use a buffer and a fine polishing compound.
Product Recommendation:
- Polishing Compound: Some products that we highly provide a professional-looking finish are RUPES or Virtus Polishing Compounds.

Fixing a Dent or Repainting a Car Panel
Repairing a dent and repainting a car panel can greatly improve the appearance and value of your car. It requires patience and attention to detail but can be very rewarding. Always remember to wear appropriate safety gear, such as gloves and masks, to protect yourself from chemicals and dust. With these steps and recommended products, you should be able to tackle car panel repairs and achieve results to be proud of.