FREE SHIPPING FOR ALL ORDERS OVER $150.
repainting a car panel

How to Fix a Dent and Repaint a Car Panel: A Complete Guide

How to Fix a Dent and Repaint a Car Panel: A Complete Guide

Fixing a dent and repainting a car panel can seem daunting, but with the right tools and techniques, it’s a task that professionals and enthusiastic DIYers can tackle. This guide will walk you through the process step-by-step and product recommendations to ensure you achieve the best results.

Step 1: Assessing the Damage

Begin by thoroughly cleaning the affected area and assessing the size and depth of the dent. This will help you decide whether you can handle the repair yourself or if it needs professional attention. Small to medium-sized dents with no serious damage to the paint can typically be fixed at home.

Product Recommendation:

  • Cleaning Agent: Opt for a high-quality automotive soap to remove all surface contaminants without damaging the paint.

Step 2: Preparing the Dent for Repair

For shallow dents, using a suction cup dent puller can be effective. For deeper or sharper dents, however, a more comprehensive approach involving a body filler is necessary.

Product Recommendations:

  • Suction Cup Dent Puller: Great for minor dents, especially on flat surfaces.
  • Body Filler Kit: Choose a reputable brand like Bondo for filling larger dents. Ensure the kit includes a hardener.

Preparing the Dent for Repair with body filler

Step 3: Applying and Sanding Body Filler

Mix the body filler according to the manufacturer’s instructions and apply it over the cleaned and lightly sanded damaged area. Use a broad knife for a smooth application. Allow it to dry completely, then sand the area with coarse sandpaper, progressing to finer grits to achieve a smooth surface.

Product Recommendations:

  • Sandpaper: Start with 120 grit and move up to 320 grit for a smooth finish.
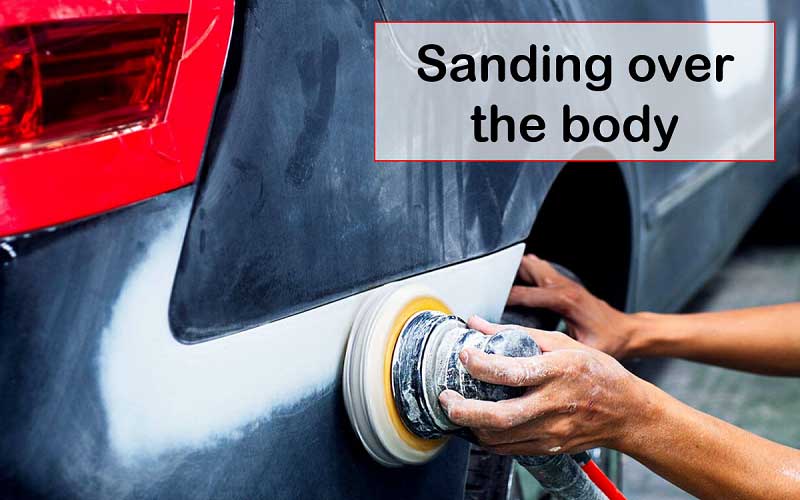
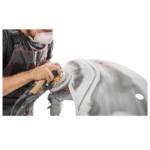
Applying and Sanding Body Filler

Step 4: Priming

Once the surface is smooth, clean it again to remove all dust. Apply a layer of primer to help the paint adhere better and to ensure a consistent color finish. Allow the primer to dry as per the instructions.

Product Recommendation:

  • Automotive Primer: A spray can primer from Rust-Oleum or similar will be easy to apply and effective.

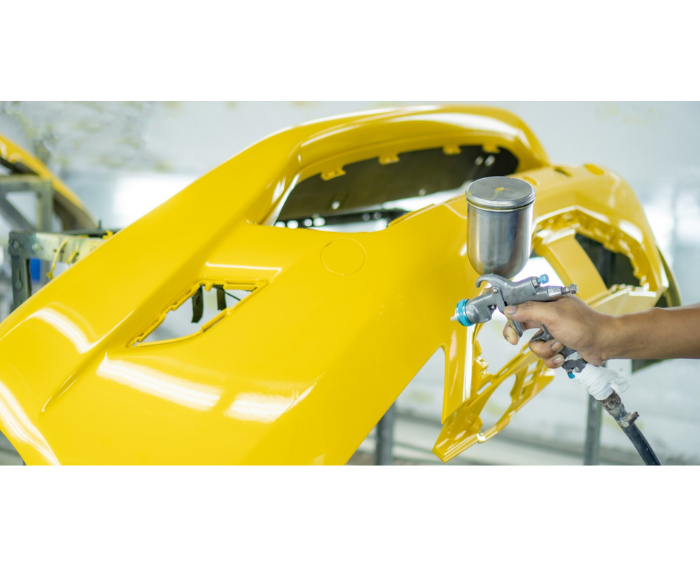
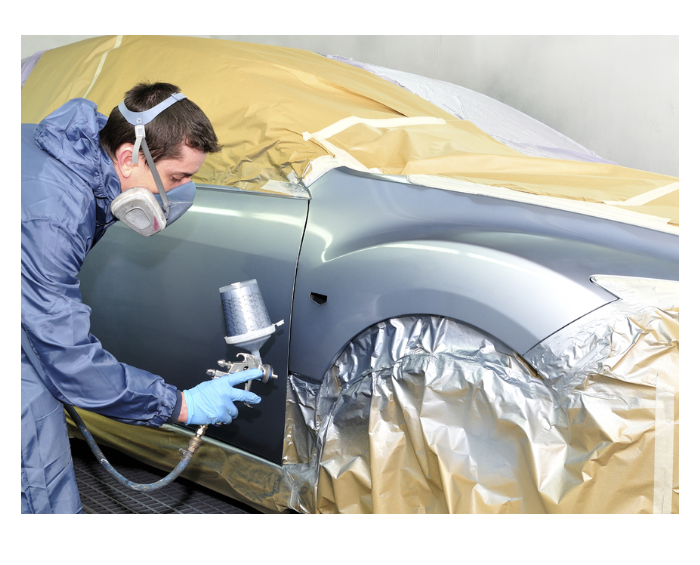
Step 5: repainting a car panel with the proper paint color 

Match the paint color with your car’s original color. Apply the paint in thin, even layers, allowing each layer to dry before applying the next. Usually, 2-3 coats will suffice.

Product Recommendation:

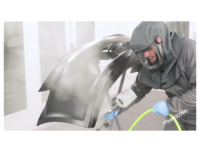
  • Automotive Paint: Use a spray can for smaller areas or a professional spray gun for larger or multiple panels.

repainting a car panel with the proper paint color 

Step 6: Clear Coating

Once the paint is dry, apply a clear coat layer to protect the paint and add gloss. This also helps the new paint blend in with the old paint.

Product Recommendation:

  • Clear Coat: A high-quality urethane-based clear coat will provide durability and a glossy finish.

Applying Clear Coat to Car

Step 7: Polishing

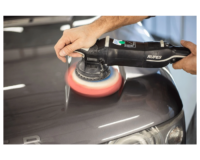
After the clear coat has cured, polish the area to achieve a high gloss finish that matches the rest of your car. Use a buffer and a fine polishing compound.

Product Recommendation:

Polishing a Car

Fixing a Dent or Repainting a Car Panel 

Repairing a dent and repainting a car panel can greatly improve the appearance and value of your car. It requires patience and attention to detail but can be very rewarding. Always remember to wear appropriate safety gear, such as gloves and masks, to protect yourself from chemicals and dust. With these steps and recommended products, you should be able to tackle car panel repairs and achieve results to be proud of.

How to Choose the Right Paint for Your Auto Body Shop

How to Choose the Right Paint for Your Auto Body Shop

How to Choose the Right Paint for Your Auto Body Shop

Selecting the right paint for your auto body shop is crucial to ensure high-quality repairs and customer satisfaction. With various types of automotive paints available, understanding their characteristics and applications can help you make informed decisions. Here’s a guide to help you choose the best automotive paint for different repairs and finishes.

DeBeer 500 Series Auto Body Paint applied to a vehicle

Understanding the Different Types of Automotive Paint

a. Acrylic Lacquer:

  • Pros: Easy to apply, quick drying, and provides a high-gloss finish.
  • Cons: Less durable, prone to chipping and fading, and requires frequent maintenance.
  • Best For: Vintage car restorations and show cars where high gloss is desired.

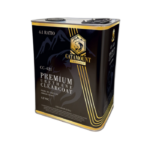
Catamount Acrylic Lacquer - Auto Body Paint

b. Acrylic Enamel:

  • Pros: Durable, resistant to fading, and provides a hard finish.
  • Cons: Longer drying time and requires a hardener for best results.
  • Best For: Daily drivers and commercial vehicles due to its durability.

Valspar Acrylic Enamel - Auto Body Paint


c. Urethane:

  • Pros: Extremely durable, resistant to chemicals and UV rays, and long-lasting.
  • Cons: More expensive and requires proper safety equipment during application.
  • Best For: High-end vehicles and areas exposed to harsh conditions.

Catamount Urethane - Auto Body Paint


d. Basecoat/Clearcoat Systems:

  • Pros: Provides a deep, glossy finish and excellent color match.
  • Cons: Requires two-step application and precise mixing ratios.
  • Best For: Modern cars and high-quality finishes.

DeBeer Basecoat - Auto Body Paint


Factors to Consider When Choosing Automotive Paint

Durability:

  • Assess the environmental conditions the vehicle will be exposed to. For harsh conditions, choose paints with high resistance to UV rays, chemicals, and physical wear.

Color Matching:

  • Opt for paints that offer a wide range of colors and excellent color-matching capabilities. This is crucial for repair jobs to ensure consistency with the original paint.

Application Process:

  • Consider the ease of application and drying time. Some paints require more complex application processes, which may necessitate additional training and equipment.

Finish Quality:

  • Determine the desired finish (glossy, matte, metallic, etc.). Different paints offer varying levels of gloss and texture.

Budget:

  • Balance the cost of the paint with its benefits. Higher-quality paints often come at a premium but offer better longevity and finish.

Preparing for the Painting Process

Surface Preparation:

  • Ensure the surface is clean, smooth, and free of rust and old paint. Proper surface preparation is critical for achieving a flawless finish.

Auto Body Surface PrepPrimer Selection:

  • Use a compatible primer to enhance the adhesion and durability of the topcoat. Select a primer that suits the type of paint you’re using.

DeBeer Primer

Mixing and Thinning:

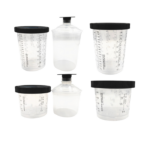
  • Follow manufacturer guidelines for mixing ratios and thinning requirements. Proper mixing ensures optimal performance and finish quality.

Mixing Cups

Safety Considerations

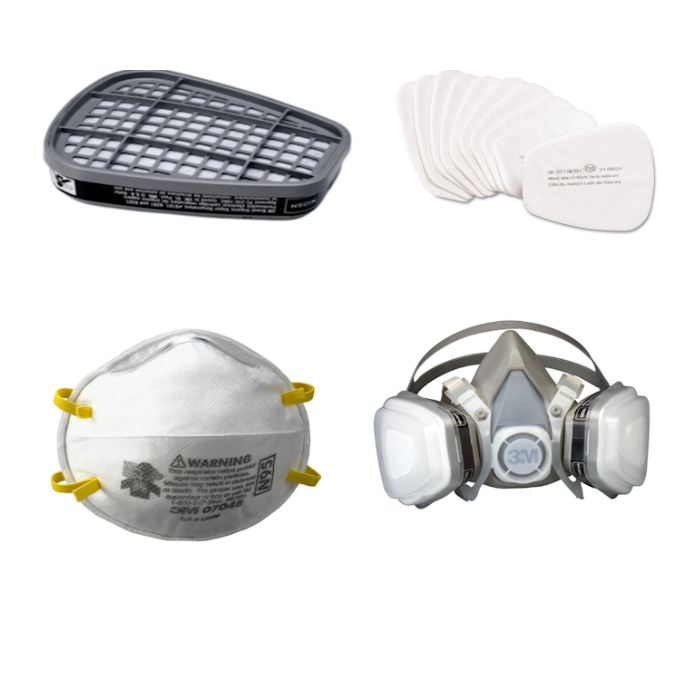
  • Protective Gear: Always wear appropriate safety gear, including respirators, gloves, and goggles, to protect against harmful fumes and chemicals.
  • Ventilation: Ensure adequate ventilation in the painting area to prevent the buildup of toxic fumes.

3M Respiratory Protection

Shopping cart close